
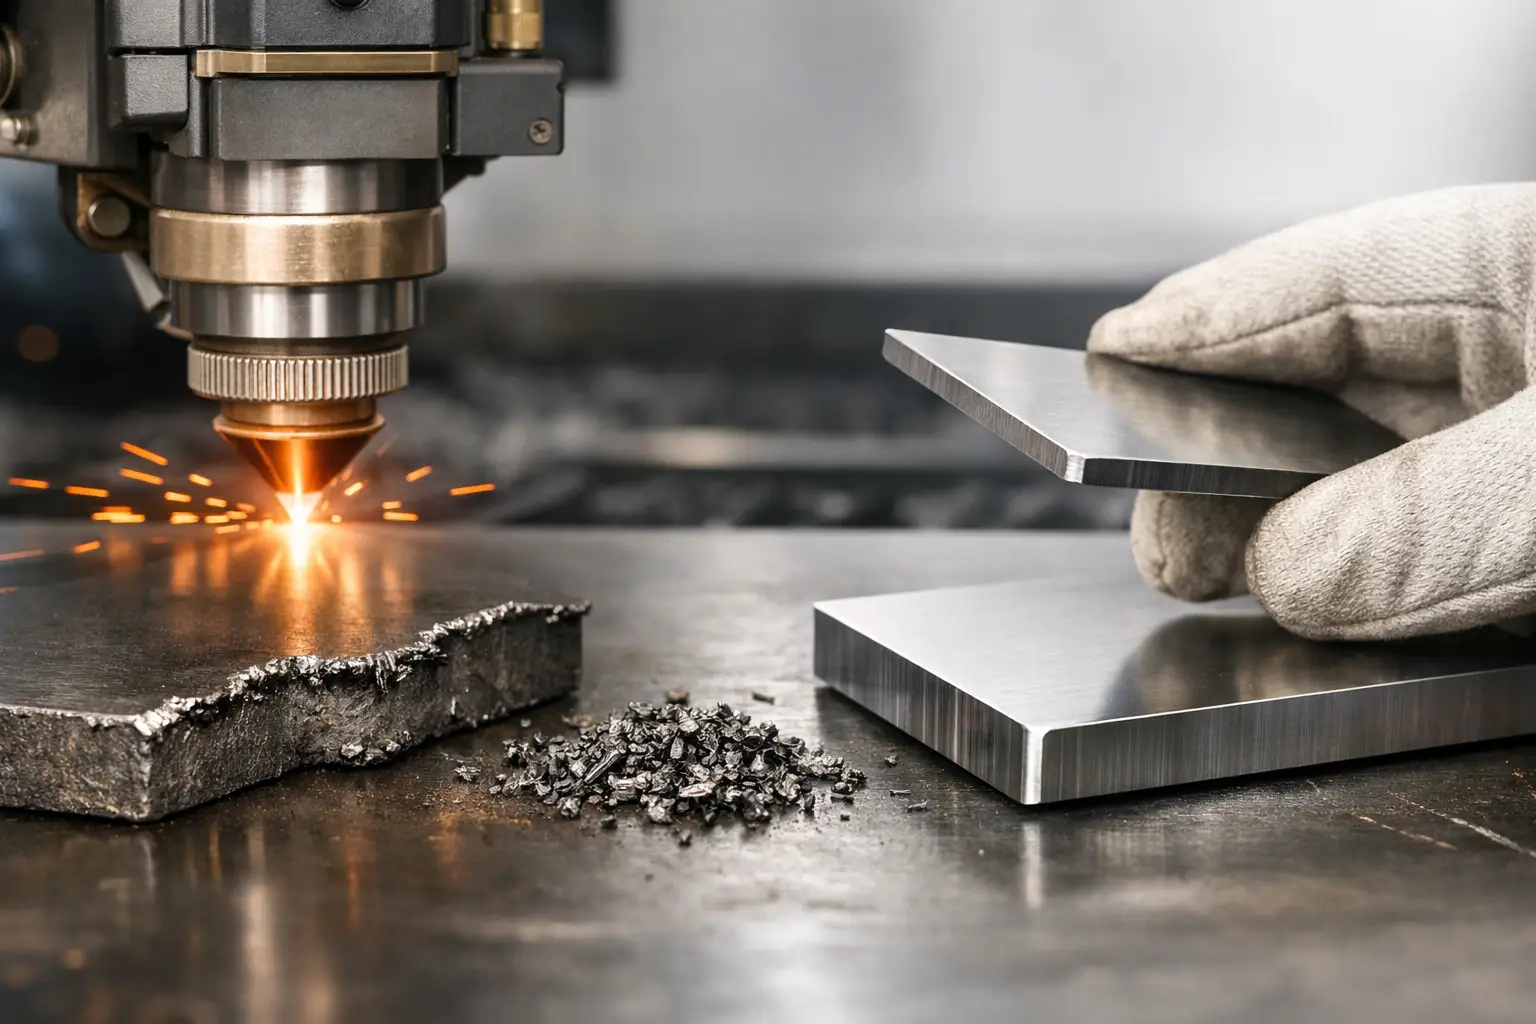
A part can be dimensionally accurate and still cause trouble on the workshop floor. Laser cutting burrs – the sharp, raised material left mainly on the underside of a cut – can affect handling, paint preparation, welding, assembly and the final appearance of a job. For fabricators and project managers, the issue is not simply whether a burr exists. It is whether the edge condition suits the part’s end use without adding avoidable labour.
On high-definition laser work, a clean edge is the result of the right machine settings, material condition and cutting process working together. Understanding where burrs come from makes it easier to specify parts properly and select the most economical finishing route.
Why Laser Cutting Burrs Occur
Laser cutting uses a focused beam to heat and melt material along the programmed profile. Assist gas then blows the molten material, commonly called dross or slag, out through the kerf. When that material does not clear efficiently, it can cool and adhere to the lower edge. The result may be a light, easily removed feathered burr or a heavier bead that needs grinding.
The most common cause is a mismatch between cutting parameters and the material. Cutting speed, laser power, focal position, nozzle condition and gas pressure all influence how well molten material exits the cut. A setting that produces a clean edge in 3 mm mild steel may leave significant dross on a thicker plate, even when the drawing and machine programme are correct.
A laser travelling too quickly may not fully penetrate the material or may leave melt behind at the lower edge. Travelling too slowly can put excessive heat into the cut, creating a wider kerf and more molten material than the gas stream can effectively remove. The ideal window depends on material grade, thickness and the required edge quality.
Focus position matters as well. If the focal point is not set appropriately for the plate thickness, energy distribution through the cut becomes less effective. The top of the edge can look clean while the bottom develops a burr, particularly on heavier sections. Nozzle alignment is equally important. Even a small offset can disrupt gas flow and reduce the clearing action needed for a crisp lower edge.
Material condition adds another variable. Rust, scale, mill finish, surface contamination and variations between batches can change the way a sheet responds to the laser. Aluminium and stainless steel also behave differently from mild steel, requiring suitable gas selection and process settings. This is why reliable cutting is not just a matter of pressing start on a programme.
Burrs Are Not Always a Cutting Fault
It is useful to separate a normal laser-cut edge characteristic from an unacceptable finish. Fine striations on a laser-cut edge are expected. A very light burr may also be acceptable on brackets, internal components or parts that will receive further fabrication. Removing it could add cost without improving the performance of the completed assembly.
The standard should be higher where people will touch the part, where components need a flush fit-up, or where the edge is visible in the finished product. Decorative architectural panels, balustrade components, retail displays, handrails, precision tabs and slots, and powder-coated items often need a cleaner edge specification. Burrs can interfere with coating adhesion and create sharp points that remain obvious after painting.
For components that are welded, a burr can prevent close contact between mating faces or make clamping less consistent. On assemblies with tight tolerances, even a small raised edge can affect how a tab locates in a slot. The burr may be small, but the downstream delay is not.
The practical question is: what does the next operation require? If a part is heading straight to a press brake, welding bench or paint line, edge quality should be considered before cutting begins. That allows the cutter and fabricator to agree on a suitable process rather than discovering a finishing requirement after delivery.
Controlling Laser Cutting Burrs Before Production
The most cost-effective burr removal is the burr that is never created. That begins with clear job information. Material type, grade, thickness, quantity, visible faces, coating requirements and any critical fits should be known before the cutting method is selected.
For repeat production work, test cuts are valuable. They confirm edge quality on the actual material rather than relying only on nominal settings. This is particularly worthwhile when a job includes thicker steel, a new material supplier, close-fitting tabs and slots, or components that will be powder coated. A small trial can prevent a large batch from needing unnecessary hand finishing.
Part design also has a role. Very small holes, narrow slots, tight internal corners and closely spaced features hold heat differently from open external profiles. These details may need adjusted lead-ins, reduced speed or sequencing that manages heat build-up. Sheet distortion is a separate but related concern. Where heat input is likely to affect flatness or material properties, another cutting method may be a better fit.
Operators can address process-related burrs through correct focus, nozzle centring, suitable assist gas, clean consumables and well-matched speed and power settings. These are controlled production variables, not guesswork. However, there is always a trade-off. Chasing the finest possible edge finish can reduce cutting speed and increase the cost per part. The right result is one that meets the job requirement efficiently.
When Secondary Deburring Makes Sense
Some parts need post-cut finishing regardless of how well they are cut. Heavy plate, safety-sensitive components and products with a premium visible finish may be sent through a linisher, deburring machine, vibratory finishing process or manual edge-break operation. The choice depends on quantity, geometry and the required finish.
Manual grinding is flexible for one-off or low-volume work, but it can be labour-intensive and inconsistent across a large batch. Mechanical deburring is more efficient for suitable flat parts, although it may not reach intricate internal features. For highly detailed profiles, finishing allowances should be discussed early so the process does not alter critical dimensions or decorative detail.
An edge break is not the same as removing dross. Edge breaking deliberately softens a sharp corner, while dross removal takes away adhered molten material. A part may need one, both or neither. Specifying the result in plain language helps: for example, “remove sharp edges for safe handling” is different from “visible face to be free from dross prior to powder coating”.
When Waterjet Is the Better Edge Solution
Laser cutting is fast, accurate and highly efficient for many metal profiles, especially production work in suitable sheet thicknesses. But it is not always the best process for every material or finish requirement. Waterjet cutting uses a high-pressure stream, up to 60,000 PSI, to cut without a heat-affected zone. Because it is a cold-cut process, it avoids heat distortion and does not create laser dross in the same way.
That makes waterjet a strong option for materials sensitive to heat, thicker sections, mixed-material projects and parts where preserving material integrity is critical. It can also cut materials that are not normally laser-cut, including rubber, foam, tile, stone, timber and certain composites. Waterjet is generally slower than laser on thinner metal sheet, so the best choice depends on the job’s priorities: speed, edge condition, material type, thickness, tolerance and budget.
Having both processes available onsite allows a practical decision rather than forcing every job through one machine. At Waterjet & Laser SA, that means customers can discuss the finished requirement first, then select the cutting method that supports it.
Specify the Edge You Actually Need
A clean laser-cut edge is not merely cosmetic. It protects workshop efficiency, reduces handling risk and helps downstream operations run as planned. Yet a burr-free specification is not automatically the right choice for every component, particularly when a light edge condition has no effect on fabrication or function.
Bring the part’s intended use into the conversation at quoting stage. If the component must fit precisely, be handled safely, receive a premium coating or remain visible in the completed project, say so. The best cutting outcome is the one that arrives ready for the next operation, with no surprises waiting at the edge.