
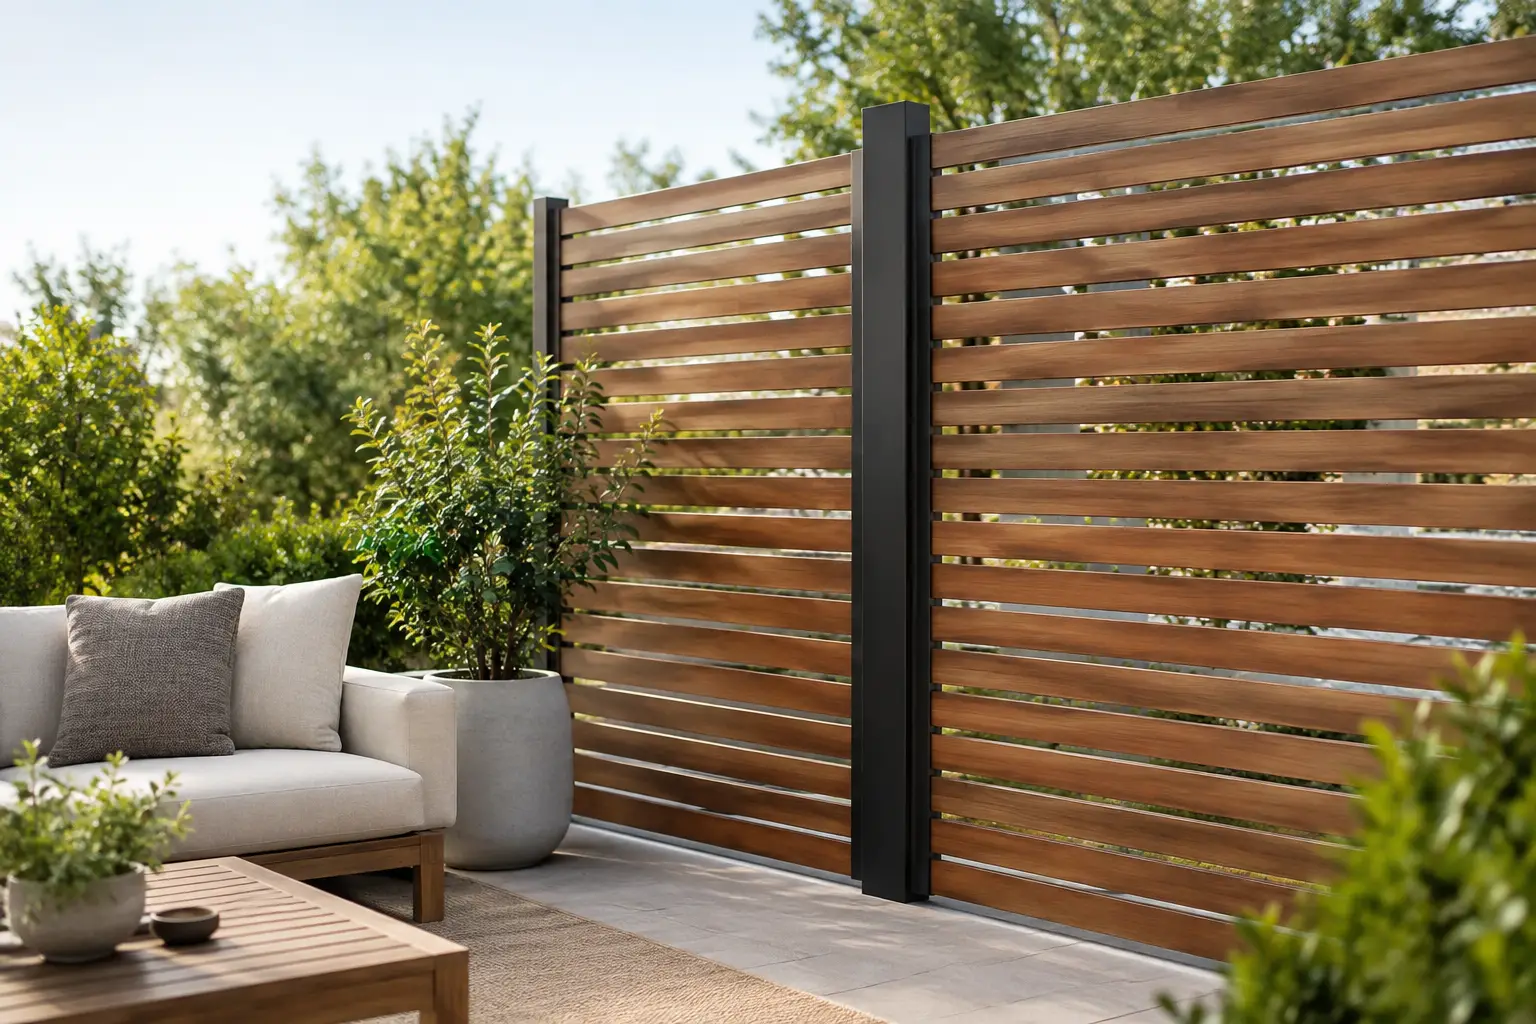
A privacy screen can solve an awkward overlooking problem, soften a hard boundary or turn an exposed alfresco area into a usable outdoor room. The difference between a screen that looks considered and one that feels like an afterthought comes down to the planning. Knowing how to design privacy screens means balancing sightlines, airflow, structure, material performance and the way the pattern will look at full scale.
For homes, commercial courtyards and architectural projects alike, a well-designed screen should do more than block a view. It should suit the building, withstand local conditions and be practical to manufacture, transport and install.
Start with the privacy problem, not the pattern
Before choosing a decorative motif, establish exactly what needs to be screened. Stand in the space at the times it is most used and identify the unwanted sightline. It may be a neighbour’s upper window, a busy footpath, a service area or direct views into a pool zone. A screen that is too low, too narrow or placed in the wrong position can leave the original issue unresolved.
Measure from the eye level of the people using the area, rather than only from ground level. For a seated outdoor dining area, the key sightline may be lower than for a balcony or standing entertaining space. Mark out the proposed screen position with tape, timber battens or cardboard before committing to fabrication. This simple step often reveals where additional width, a return panel or a different height is required.
Privacy does not always mean a solid wall. In many settings, partial visual filtering is enough. A patterned screen can break direct lines of sight while allowing daylight and breezes through. This tends to make smaller yards and courtyards feel more open than a fully enclosed boundary.
Set the screen size and panel layout
Large, uninterrupted panels can make a strong architectural statement, but they need suitable framing and fixing points. Smaller panels are easier to handle, can suit difficult access areas and allow for expansion joints or changes in direction along a boundary.
Start with the overall span, then divide it into panel sizes that are practical for the material, installation method and site access. Consider how each panel will pass through gates, hallways or side passages. A screen that can be cut accurately may still be difficult or expensive to install if it cannot reach its final position safely.
Leave appropriate clearances around panels. Metal expands and contracts with temperature changes, and screens installed close to paving, retaining walls or timber structures need room for movement and drainage. Where screens are mounted above ground, a consistent gap beneath the panel can prevent debris build-up and create a lighter visual finish.
The frame should be designed as part of the screen, not added later as a compromise. Concealed fixings can provide a clean result, while expressed posts and rails may better suit industrial, coastal or commercial architecture. The right choice depends on access for installation, expected wind loading and the desired appearance from both sides.
Choose a pattern that works at full scale
A detailed pattern may look excellent on a computer screen but become too busy, weak or visually dense when applied to a two-metre panel. Pattern selection is where design intent and manufacturing knowledge need to work together.
Begin by deciding how much openness the screen needs. Small cut-outs create stronger privacy but can reduce airflow and make the panel appear heavier. Larger openings admit more light and breeze, yet may expose too much of the area behind it. The viewing angle matters as well. A pattern that provides good privacy when viewed straight on can be more transparent when viewed from an angle.
Keep enough material between cut-outs to maintain strength. Very narrow bridges, sharp internal corners and isolated details can be vulnerable during handling or may not suit the chosen sheet thickness. Repeating geometric patterns are generally efficient and consistent, while organic designs can create a more decorative effect. Both can work well when scaled to the panel dimensions rather than simply repeated to fill space.
Avoid treating the border as wasted space. A solid perimeter can improve stiffness, provide room for fixing and make the design feel intentional. It also prevents fine pattern details from ending abruptly at the edge of the panel.
Consider light, shadow and what sits behind the screen
Laser-cut screens change character throughout the day. Sunlight can project the pattern onto paving or walls, while evening backlighting can make the screen a feature from inside the home. This is useful when planning entertainment areas, entry paths and commercial frontages.
However, strong lighting can also reveal more than expected. If a privacy screen will be lit from behind, test whether silhouettes of people or objects will be visible. For bin storage, utility zones or areas needing complete concealment, consider a denser design, a second backing layer or planting behind the screen.
Select materials for the site and intended finish
Material choice affects durability, maintenance, weight, cost and cutting method. There is no single best option for every privacy screen.
Powder-coated aluminium is light, corrosion-resistant and well suited to many residential applications. It is a practical choice where handling weight matters or where a clean painted finish is preferred. Aluminium does need thoughtful structural support on larger panels because its stiffness differs from steel.
Mild steel offers strength and is often chosen for heavier architectural or industrial-style screens. It requires a protective coating system for exterior use. If the coating is damaged or poorly specified, corrosion can become an issue, particularly near the coast or in constantly wet areas.
Stainless steel provides high corrosion resistance and a premium appearance, but it is usually a higher-cost option. It can be appropriate for demanding environments, commercial projects and applications where the natural metal finish is part of the design.
Corten-style weathering steel creates a distinctive rusted finish, but it should be used with care. Run-off can stain paving, render and nearby surfaces, especially during its initial weathering period. Provide drainage and avoid placing it directly above light-coloured concrete or porous stone unless the design accounts for potential staining.
Timber-look or timber-based screens can add warmth, though exterior exposure, maintenance requirements and fire considerations need attention. For projects requiring intricate profiles in tile, stone or other materials, waterjet cutting may be the better fit because it is a cold-cut process and avoids heat distortion.
Match the cutting process to the design
The best manufacturing process depends on the material, thickness, edge requirement and complexity of the pattern. High-definition laser cutting is highly efficient for many metal privacy screen designs, producing accurate profiles and clean detail at speed. It is particularly effective for decorative steel, stainless steel and aluminium panels where consistent repeatability matters.
Waterjet cutting uses an abrasive water stream at pressures up to 60,000 PSI. Because it is a cold-cut process, it avoids a heat-affected zone and can cut a broad range of materials, including metals, tile, rubber, timber and stone. This makes it valuable where material integrity, unusual materials or thicker sections are a key consideration.
For a project with detailed artwork, provide a clean vector file where possible. Common production-ready formats include DXF, DWG and AI. If the design starts as a sketch, photograph or inspiration image, it can be developed into a cut-ready drawing, but allow time for this stage. Accurate drawings prevent surprises around panel size, cut-out dimensions and fixing locations.
Waterjet & Laser SA can assess the intended material and screen design before cutting, helping Adelaide customers select the process that delivers the required edge quality, accuracy and turnaround.
Design the installation before fabrication
A screen panel is only as dependable as its supports and fixings. Wind loading is a serious consideration, particularly for tall screens, elevated decks, exposed sites and wide panels with a high solid area. The more closed the pattern, the more it behaves like a sail in strong winds.
Confirm whether the screen will fix to masonry, steel posts, timber framing or a purpose-built support system. Each substrate requires suitable fasteners and adequate structural capacity. Do not rely on lightweight fence palings or decorative cladding to carry a heavy panel.
Plan for maintenance access too. If the screen sits near a pool, garden bed or boundary fence, make sure there is a practical way to clean, repaint or replace it later. In corrosive locations, prevent dissimilar metals from sitting directly against each other where possible, as this can contribute to galvanic corrosion.
Use privacy screens as part of the whole outdoor design
The strongest designs consider screens alongside planting, paving, pergolas and exterior colours. A laser-cut panel can frame a climbing plant, conceal equipment or create a transition between open and private areas. It does not need to carry every design function on its own.
When deciding how to design privacy screens, prioritise the real site conditions first, then let the pattern express the character of the project. A screen that is accurately sized, properly supported and made from the right material will keep doing its job long after the initial visual impact has settled into the space.